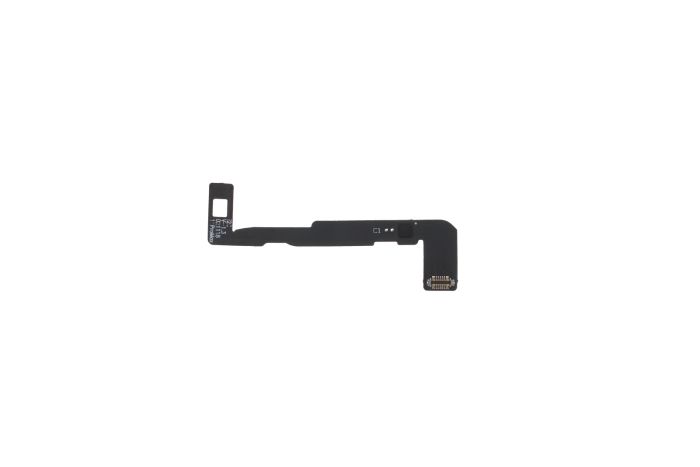
Apple iPhone 11 Pro Max Face ID Repair Cable
£34.95
£29.12
In stock
In stock
SKU
IPHONE11PROMAX-FACEIDCABLE
| Main Warehouse | Nutel Solutions Ltd , Battlesbridge, Essex SS11 7RH |
13 units available |
|---|
Buckle the dot flex cable on the i2C programmer to test
Press the ‘Read’ button to read the data from the flex cable
When Data Read OK, take the corresponding model I2C cable and connect with the I2C programmer
Click the ‘Write’ button to write the data into the new flex cable
Apply some UV glue on the glass lens Then solidify under the UV lamp
(The purpose of this step is to keep glass lens well aligned with metal frame for further better alignment)
Separate and take out the dot projector cable
Hold the dot projector cable on the holding fixture
Remove the MOSFET and short the related pins
Separate the dot projector board from the original cable
Clean the pads on the dot projector board
Apply solder paste and reball the pads on the dot projector board
Align the dot projector board with the I2C dot projector board, heat with the hot air gun to solder the board and flex cable together
Connect the soldered dot projector cable with the I2C host machine to test the functions is OK or not
After testing OK, refer to the mark made before to align the dot projector cable with the glass lens
Apply special glue on the gap between the glass lens and dot projector cable, then hold with test fixture for solidification
Buckle the Face ID module to test the Face ID functions
| EAN | 5060384812328 |
|---|---|
| Dimensions | 20mm x 20mm |
| Item Returns | This item can be returned |
Write Your Own Review

